
Guide
First steps
This page is the shortest path from an empty addon to a guest you can order. It is written for the operator doing the first farm setup. Do the steps in order. Later dropdowns read data saved here.
1. Connect the cluster
Menu: Addons → Proxmox Suite → Nodes → Clusters List → Add new
Enter Name, API URL (the Proxmox API host, usually port 8006), and API token. Leave Active on. Leave Verify SSL on unless the node uses a certificate you have decided not to trust.
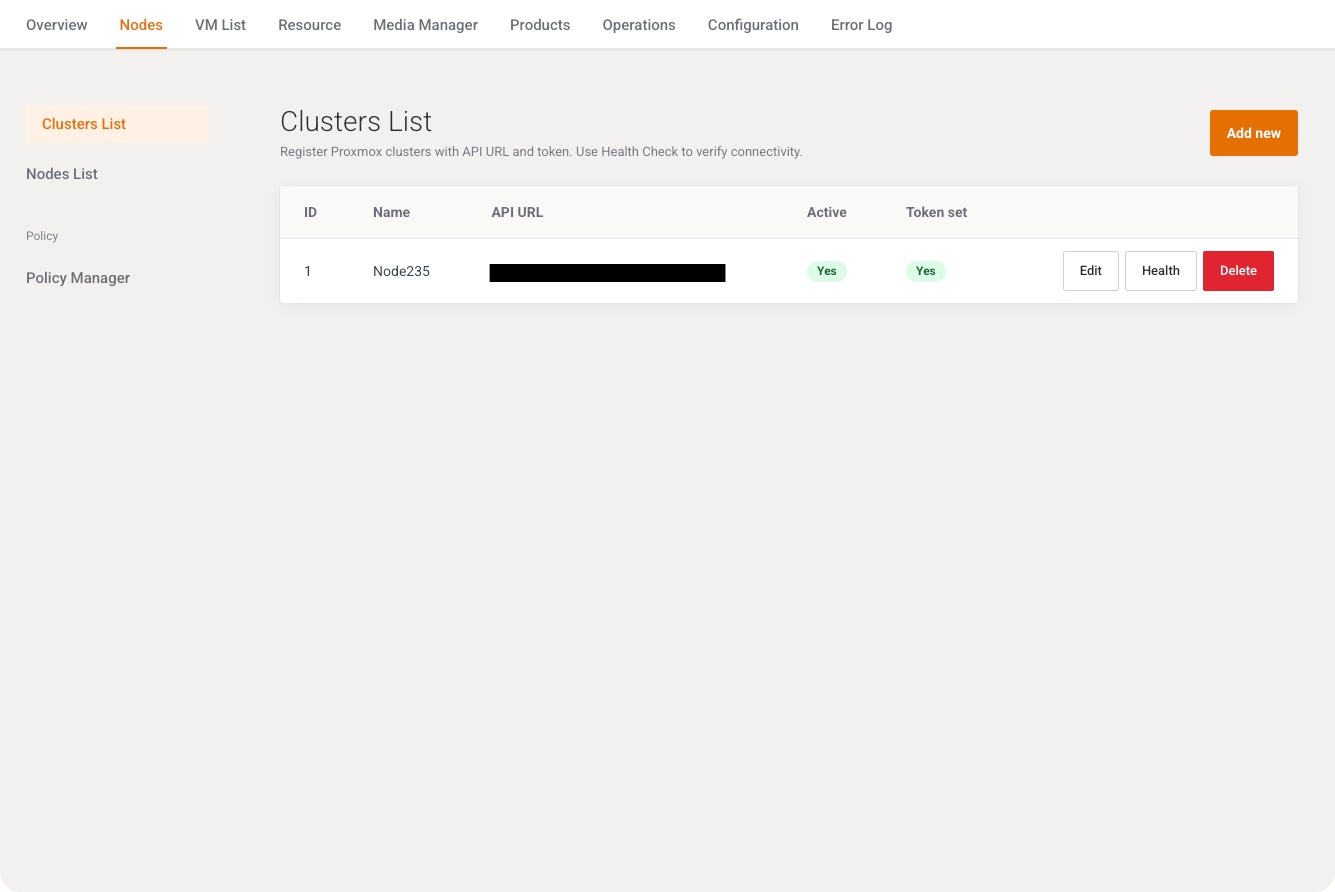
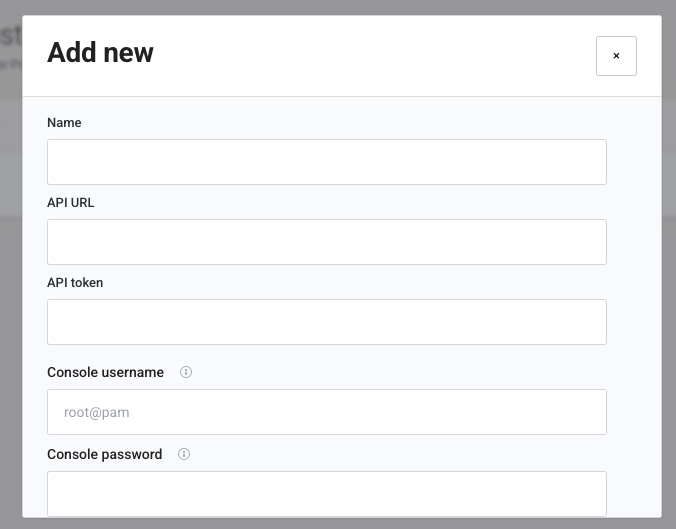
Click Save, then Health on the row. A failed health check means the URL, token, or TLS setting is wrong. Fix that before anything else. Field reference: Clusters List.
2. Refresh the catalog and confirm nodes
Open Configuration → Cron Scheduler and click Run now on Farm catalog cache (or Run all now). Then open Nodes → Nodes List and confirm the nodes are online.
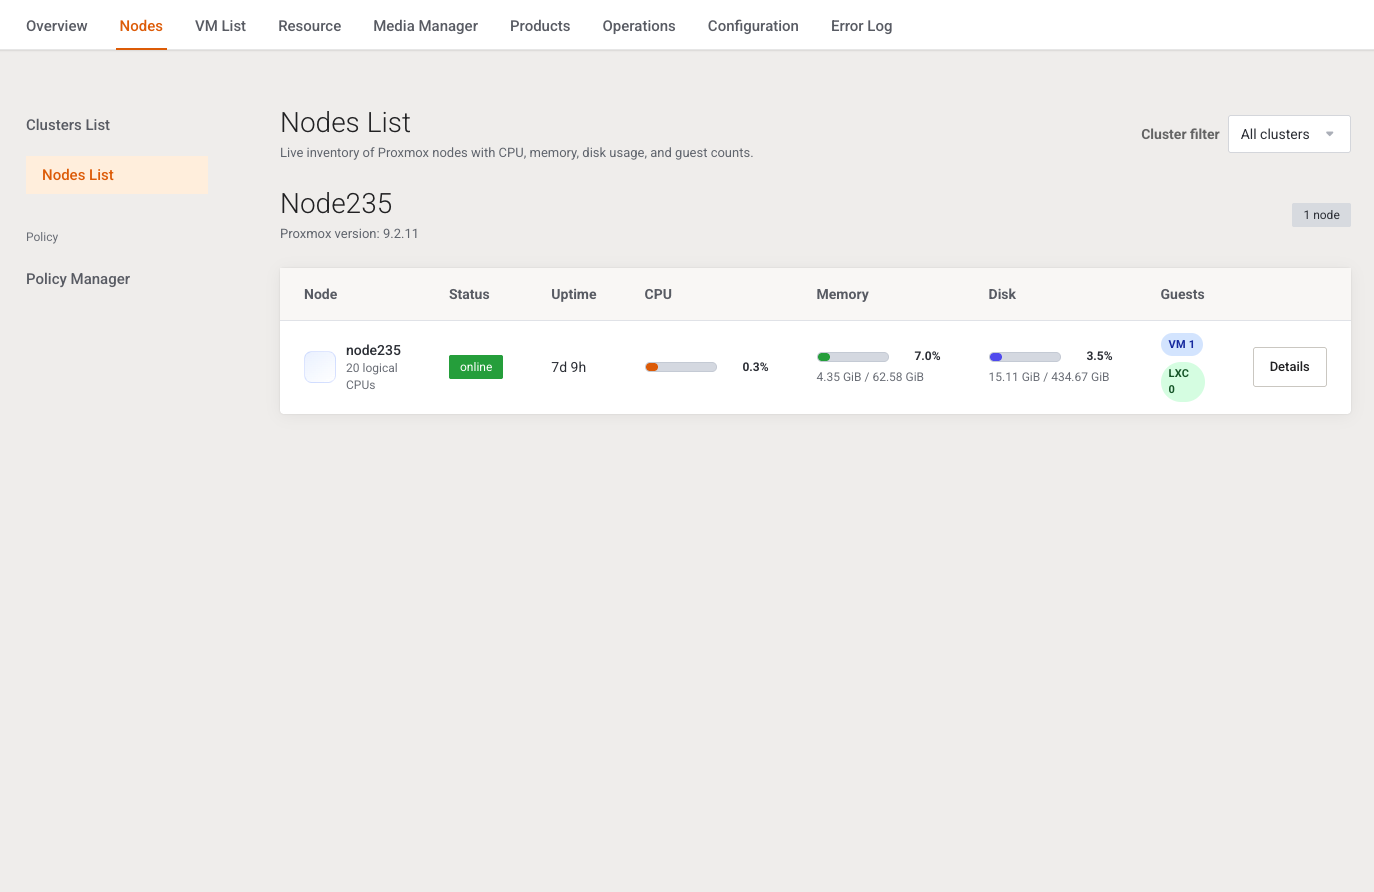
An empty list means there is no Active cluster, the token cannot list nodes, or the catalog task has not run. Inactive clusters are skipped.
3. Add IP space
Resource → Network → IPv4 Addresses → + New IP Addresses. Use the real allocation: network CIDR or first and last address, plus the gateway guests should use.
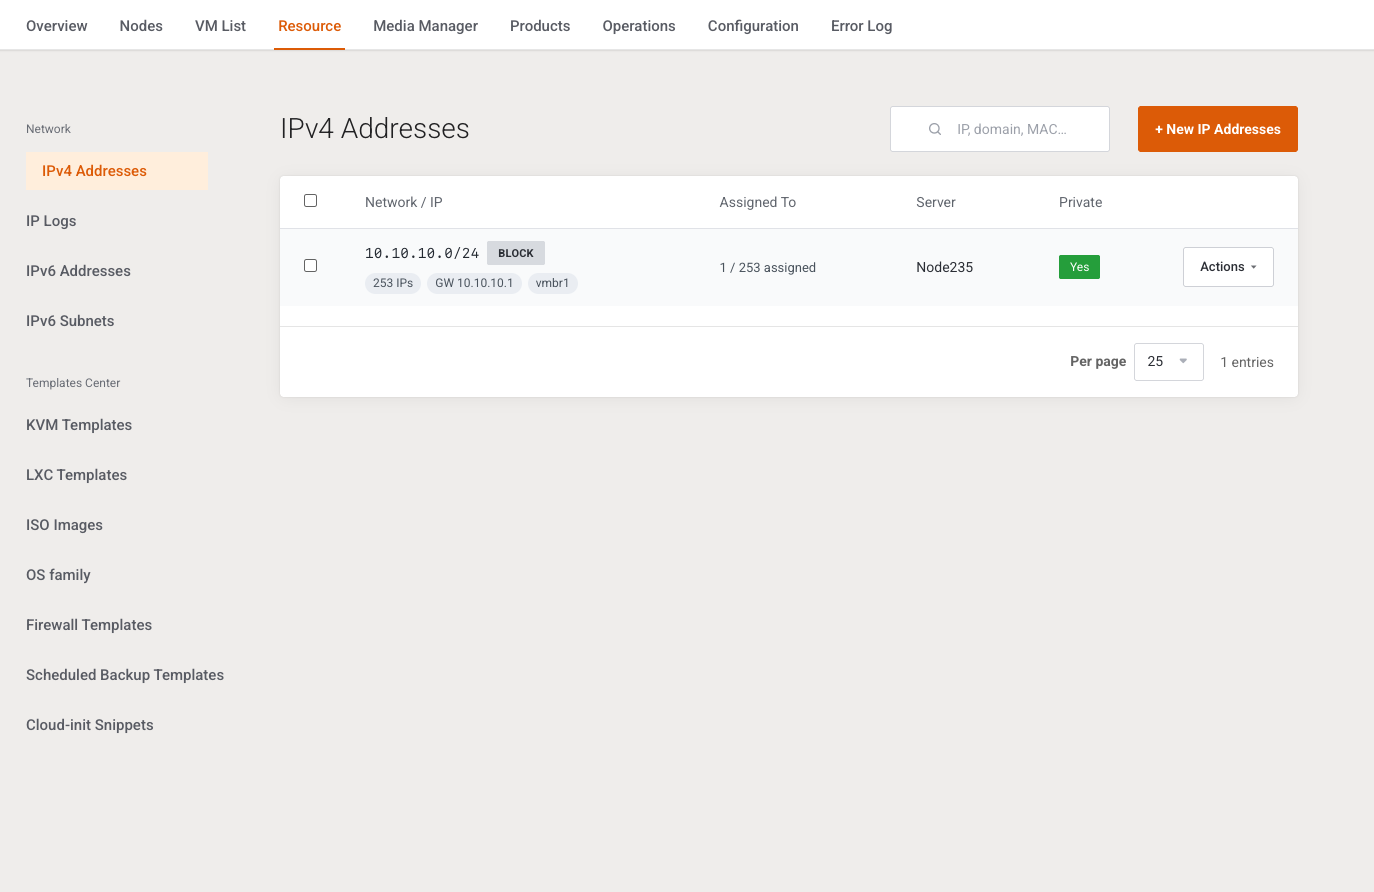
Add IPv6 Addresses or IPv6 Subnets only when a plan sells them. You can attach the new pool to a policy in the next step.
4. Create a distribution policy
Nodes → Policy → Policy Manager → Add new. Pick the cluster, a load-balance rule, the IP pools from step 3, and the default KVM or LXC storage and bridge.
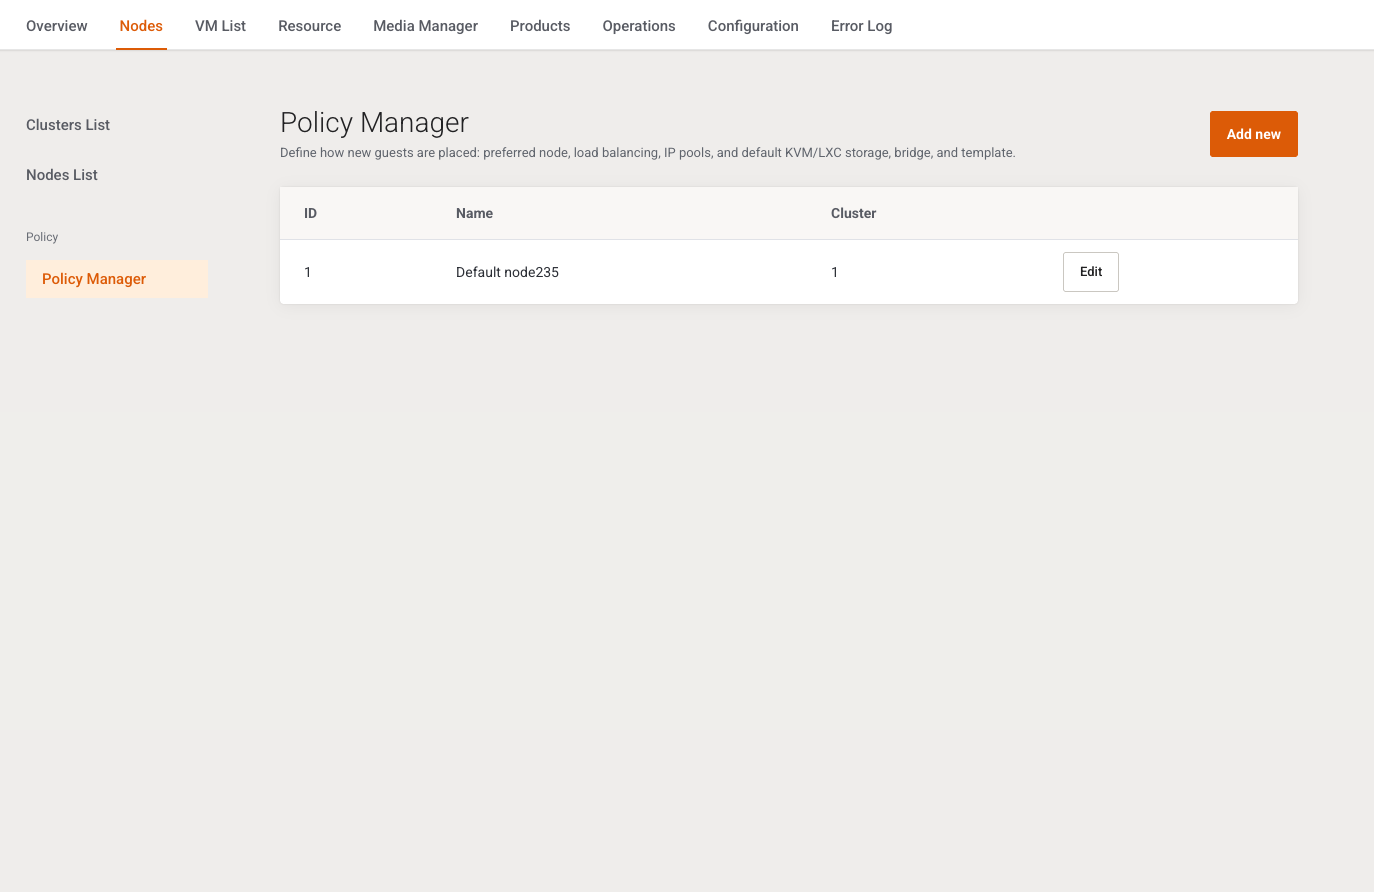
If storage and bridge dropdowns only show an em dash, the catalog cache is empty. Repeat step 2. Field reference: Policy Manager.
5. Import templates or ISOs
Resource → Templates Center → KVM Templates, LXC Templates, or ISO Images. Choose the cluster and click Import, or use Add new / + Create to register a volume by hand.
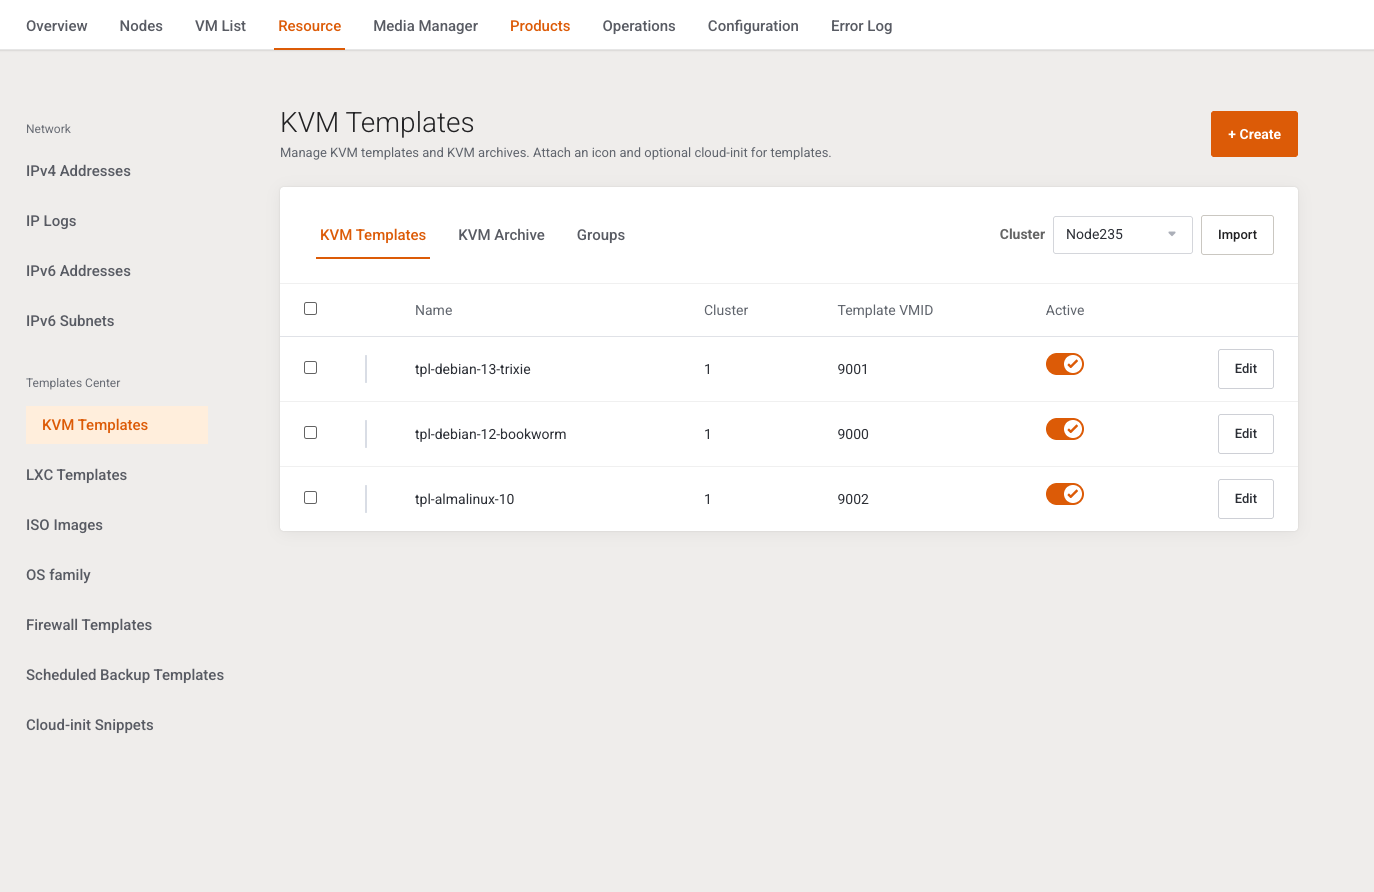
Optional: create an OS family and a group so the client reinstall page shows one card per family.
6. Define a package and a WHMCS product
Products → VM Plan → VM Plan → Add new. Set Name, Guest type, Policy, CPU, memory, disk, and OS media. Leave Active on. Click Save.
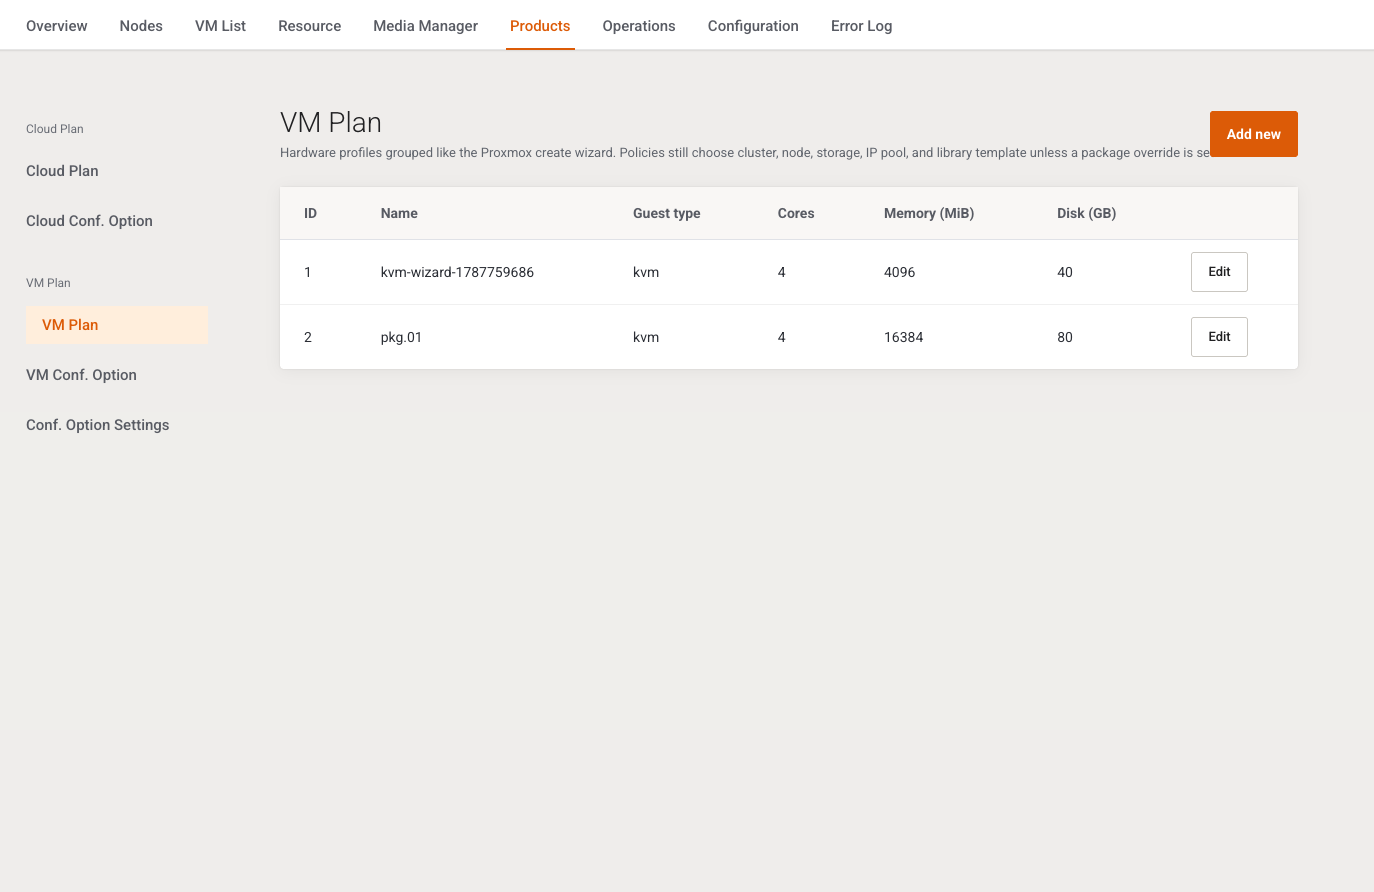
Then edit the WHMCS product: Module Name Proxmox Suite, Guest Type matching the package, Hardware Package set to this package. The package policy overrides the product policy when both are set.
Field reference: VM Plan.
7. Leave cron installed
The manual Run now in step 2 does not replace crontab. Install the recommended lines and confirm later runs on Cron Scheduler.
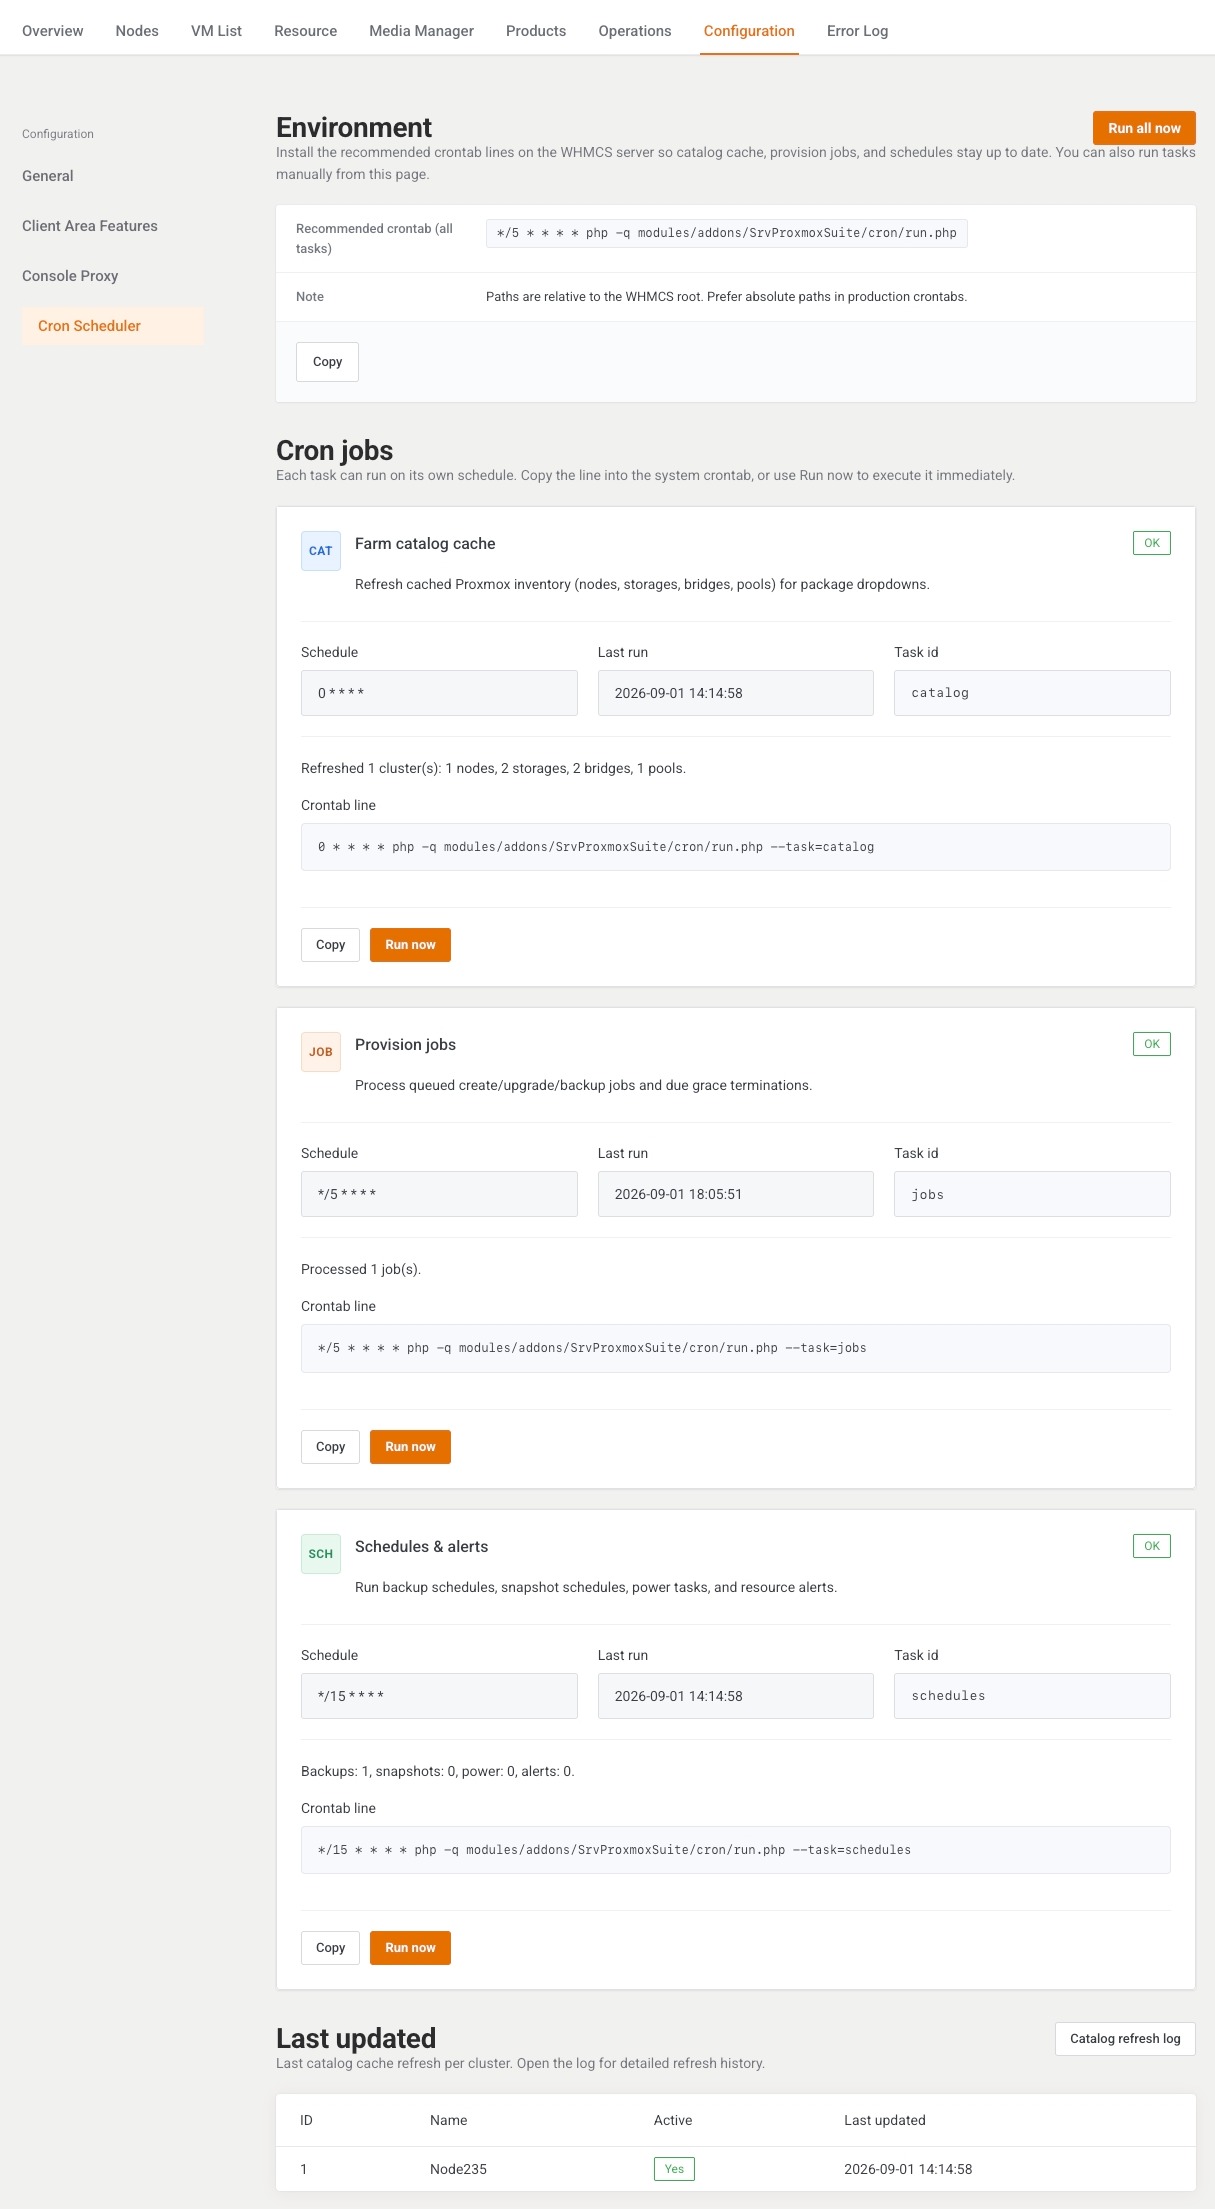
Place a test order. Operations → Task History should leave the job succeeded, and VM List → VMs List should show the guest as linked.
Next step
Use the post-install checklist as the sign-off list.