
Guide
WHMCS Product Module
This page explains how to create the WHMCS server and product used to sell dedicated servers with the srv_hetzner_dedicated server module. It is written for WHMCS administrators setting up billing for the family, whether products were imported automatically or are being configured by hand.
Add a WHMCS server
- Go to Setup → Products/Services → Servers.
- Click Add New Server.
- Fill in:
- Name — for example, "Hetzner Dedicated".
- Module — select Hetzner Dedicated Server.
- Username / Password — your Hetzner Robot webservice credentials (see Robot Webservice User).
- Click Test Connection to verify.
- Save the server.
Note
The Robot API endpoint is https://robot-ws.your-server.de and authenticates with HTTP Basic Auth, so Test Connection succeeds only when the webservice username and password are correct and not currently rate-limited.
Create a dedicated server product
- Go to Setup → Products/Services → Products/Services and create a new product (or open one created by Import).
- Set Module Name to Hetzner Dedicated Server.
- On the Module Settings tab, assign the server created above and confirm the server group.
- Set Product Type to Dedicated/VPS Server so WHMCS shows server-related fields correctly.
Server module configuration options
| Option | Maps to | Notes |
|---|---|---|
| Product ID | Robot product ID | Standard product ID or auction (market) ID |
| Location | Datacenter | Required for Standard orders; not used for Market |
| Order Type | standard or market |
Set automatically when the product was created via Import |
Product access control
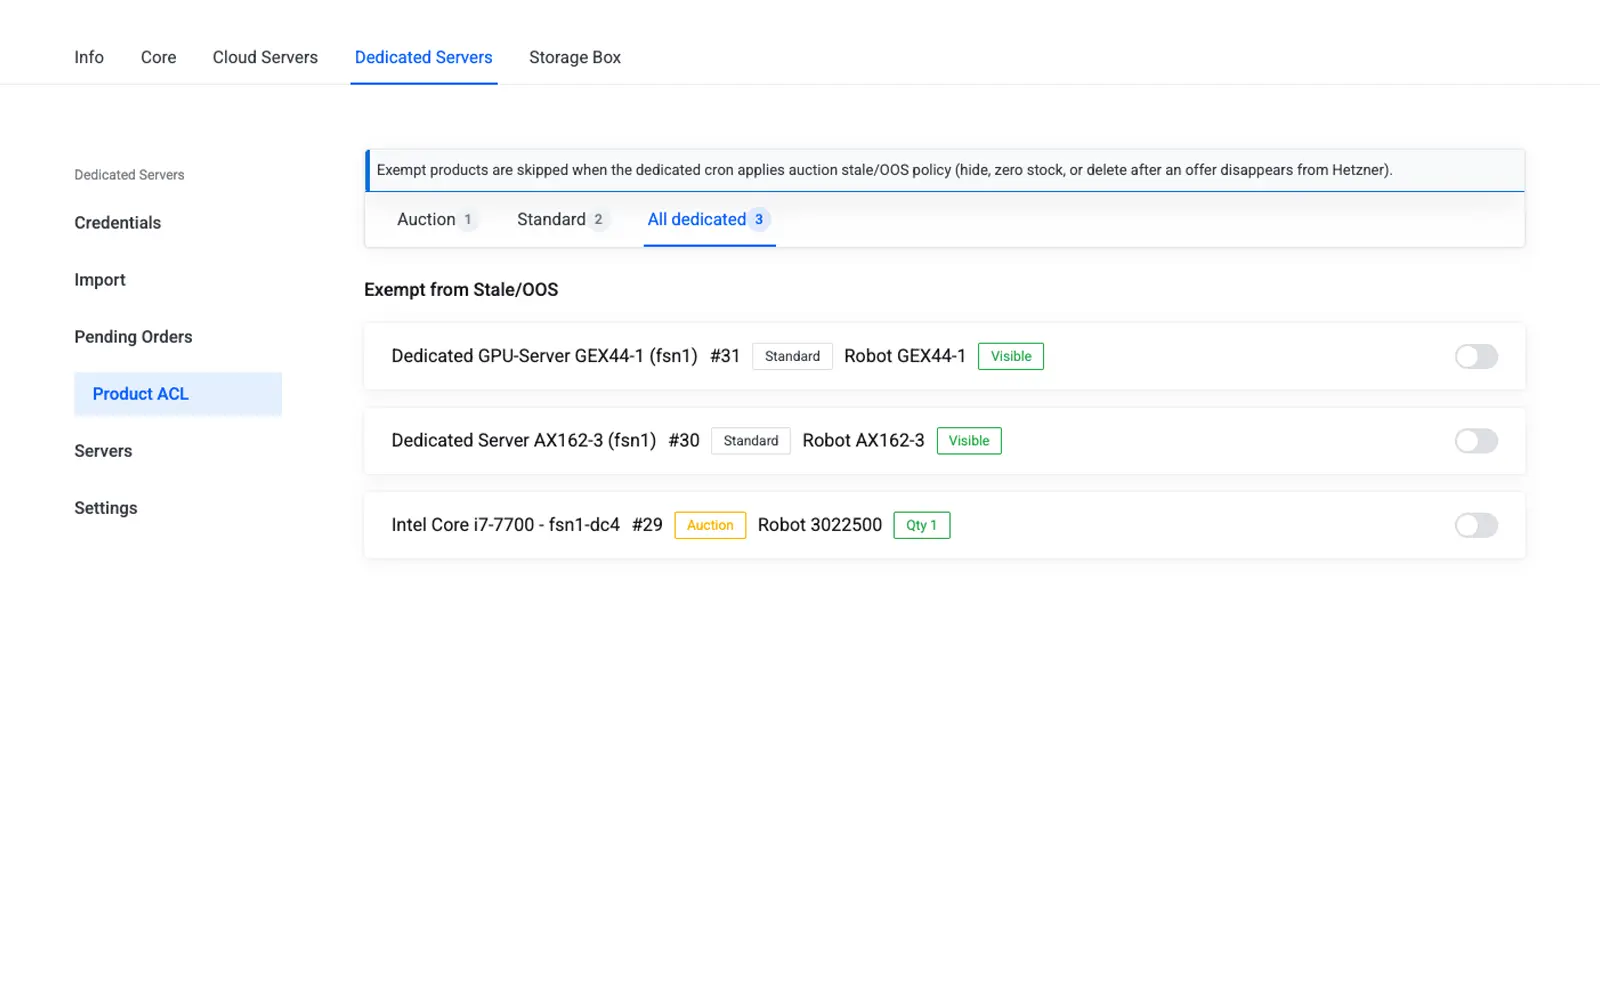
Use the Module ACL / Product ACL tab to control which client-area actions and admin fields are exposed for this specific product, on top of the family-wide defaults set on Settings.
Custom fields (created automatically)
| Field | Purpose |
|---|---|
serverID |
The final Robot server number, populated once the server is provisioned |
robotTransactionID |
The asynchronous order's transaction ID, cleared once the server number resolves |
These fields are created for you automatically on import; if you are building a product manually, confirm both fields exist on the product's Custom Fields tab.
Provisioning flow
- The client orders the dedicated server product.
- The module places the Robot order (Standard or Market) — Robot returns a transaction ID, which is stored, not a server number.
- The Pending Orders reconciliation process polls Robot and, once fulfilled, populates
serverID. - The WHMCS service becomes Active once the server number is available.
Warning
Because provisioning is asynchronous, a newly ordered dedicated server product will show as Pending in WHMCS for a period of time — this is expected and not a failure. See Pending Orders.
Troubleshooting
| Problem | Fix |
|---|---|
| Test Connection fails when adding the server | Verify the webservice user and password, and that the source IP is not currently blocked — see Robot Webservice User |
| Order placed but service stays Pending indefinitely | Check Pending Orders and run Run Dedicated Cron manually |
serverID never populates |
Confirm the custom field exists on the product and that the Robot account has ordering enabled |
Related
- Import Standard and Auction Products — creates products with the correct configuration options already set
- Pending Orders