
Installation
Activation and Verification
This page covers activating the Hetzner Data Center Core addon, granting admin access, and confirming the installation succeeded. It is written for administrators completing the initial setup after uploading the module files.
Activate the addon
- Log in to your WHMCS admin panel.
- Navigate to Setup → Addon Modules.
- Find Hetzner Data Center Core in the list and click Activate.
- Click Configure next to the addon.
- Under Access Control, grant access to the admin roles that should be able to use the dashboard and family admin pages.
- Click Save Changes.
Note
Only admin roles you explicitly grant access to will see Addons → Hetzner Data Center Core in the admin menu.
Verify the installation
- Navigate to Addons → Hetzner Data Center Core.
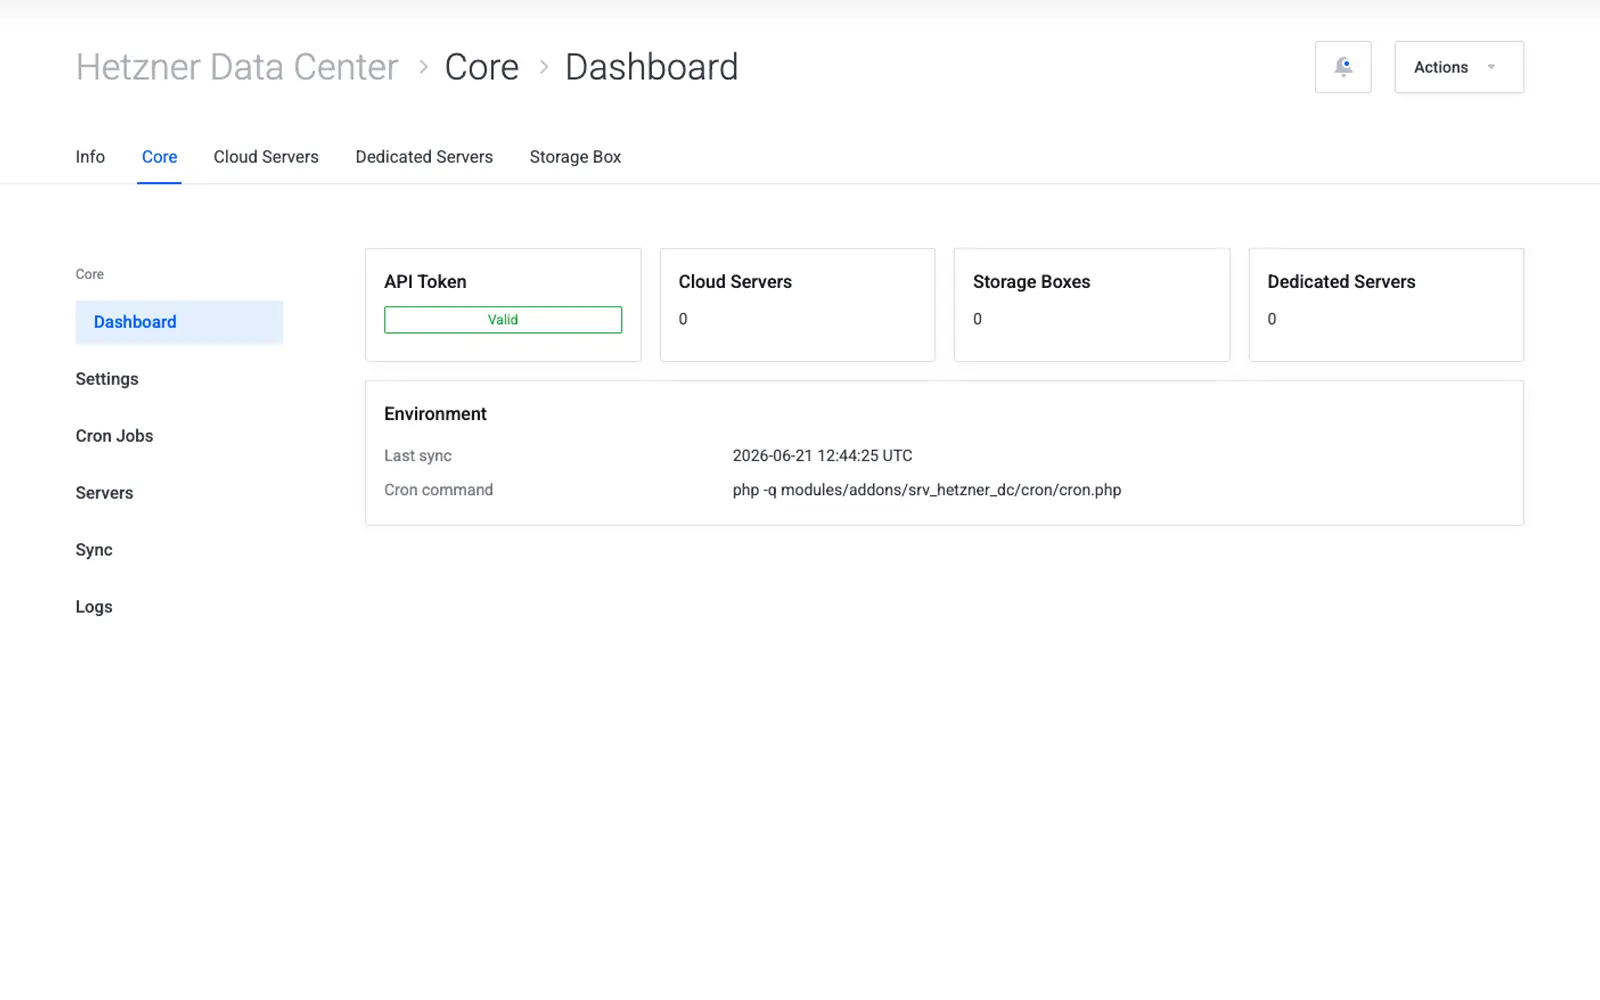
- Confirm the Core health dashboard loads without errors.
- Each service family (Cloud, Storage Box, Dedicated) should appear as a card on the dashboard, showing a status of "Token not configured" until credentials are added.
Tip
Seeing "Token not configured" on a family card is expected right after installation — it confirms the dashboard is reading live status correctly. Proceed to the relevant family's getting-started guide to add credentials.
Troubleshooting
| Problem | Fix |
|---|---|
| Addon does not appear under Setup → Addon Modules | Re-check that modules/addons/srv_hetzner_dc/ was uploaded completely and file permissions allow the web server to read it |
| Dashboard page is blank or errors | Confirm PHP 8.1+ is active for the WHMCS installation and check the WHMCS admin activity log |
| Admin cannot see Addons → Hetzner Data Center Core | Re-open Setup → Addon Modules → Configure and confirm the admin's role has access under Access Control |
Next step
Continue to Dashboard to learn what each status indicator on the health dashboard means.